

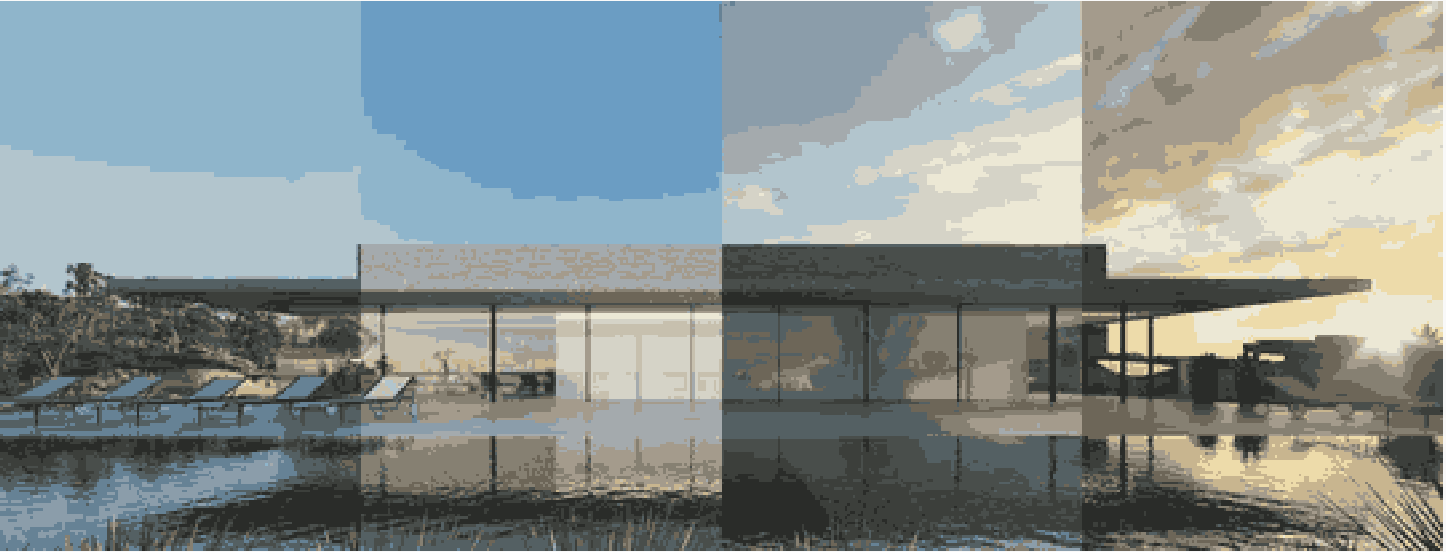
If you’re an architect, student, or designer looking to create realistic 3D visuals quickly, you’ve probably heard about Twinmotion. It’s widely called the easiest rendering software to learn, and with good reason — even if you’re new to visualisation, you can start creating stunning images, videos, and walkthroughs in just a day or two.
In this beginner friendly guide we break down:
- How to start rendering in Twinmotion (step by step)
- The most common mistakes beginners make (and how to avoid them)
- How to integrate Twinmotion into your BIM workflow with Revit, SketchUp, or ArchiCAD
By the end, you’ll know how to import your first model, apply realistic textures, add landscaping, set up your skies, and export cinematic renders — all without weeks of learning.
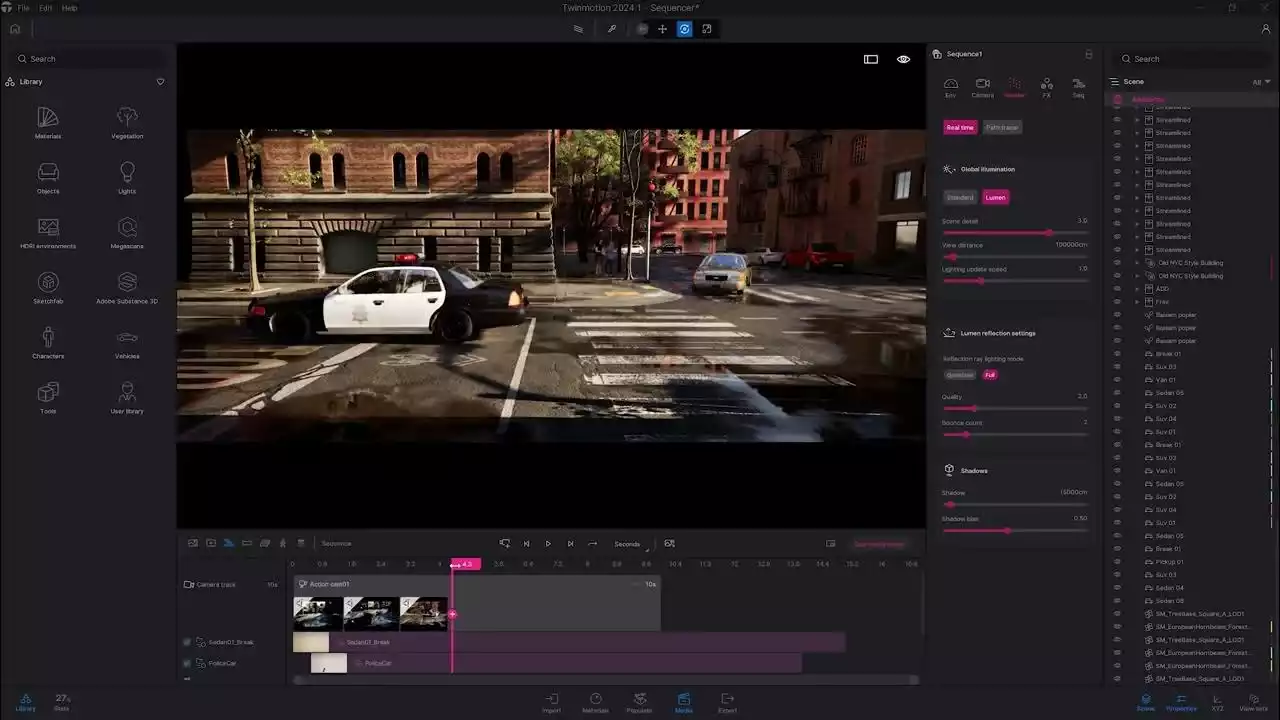
Image Source: ARK Infosolutions
Why Twinmotion? (And Why It’s So Popular with Beginners)
Most rendering tools (like V-Ray, Unreal Engine, or Lumion) either:
- Require complicated setups and technical skills, or
- Take hours (or days) to render a single animation.
How is Twinmotion different:
- It’s free for students and educators.
- You can create real-time, photorealistic visuals without coding.
- It connects directly with Revit, SketchUp, ArchiCAD, and Rhino — so changes update instantly (no re-exporting).
- And it’s fast — renders are ready in minutes, not hours.
Step 1: Import Your Model (Revit, SketchUp, ArchiCAD, or FBX)
- Launch Twinmotion and click Import.
- Select your 3D model — most users start with SketchUp, FBX, or Revit files.
- If you’re using Revit or ArchiCAD, install the Direct Link plugin so your model updates live as you tweak it.
Pro Tip: Keep your model clean and lightweight before importing (simplify furniture, merge layers) for faster performance.
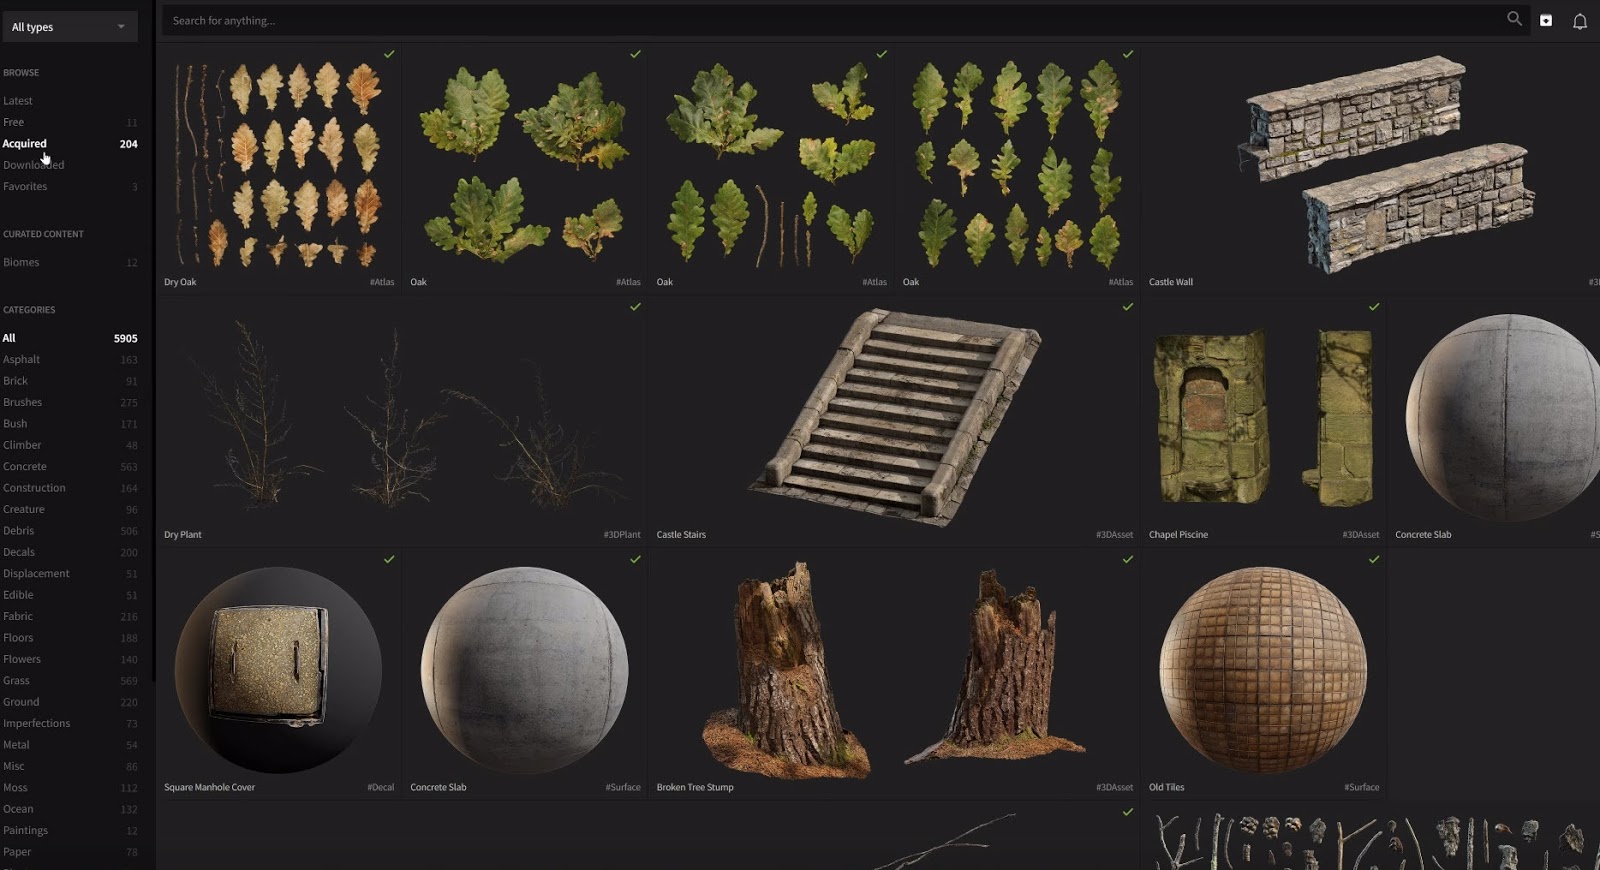
Image Source: CG Record
Step 2: Use High-Quality Materials (Not Just Defaults)
Most beginners drag and drop Twinmotion’s default materials — but pros recommend Quixel Megascans for better results.
Here’s why:
- Megascans (free if you have an Unreal Engine or Epic Games account) provide hundreds of realistic, PBR-ready textures — metals, woods, concrete, even imperfections like scratches or weathering.
- They add realism so your render doesn’t look flat.
How to Use Them:
- Download textures from quixel.com (log in with Epic Games).
- In Twinmotion, go to Materials → Custom → New Material.
- Add the Albedo (base colour), Normal (bump), and Roughness maps.
- Drag and drop onto your model — tweak scale, reflection, and colour.
Step 3: Add Landscaping and Vegetation
Nothing kills a render faster than flat, 2D grass. Twinmotion makes landscaping interactive:
- Open Vegetation Paint (Context Menu → Vegetation).
- Choose grass types, flowers, shrubs, and trees from the library.
- Paint them onto your site using the brush tool — adjust density, size, and variety for a natural look.
Quick Fix for Beginners:
- In Preferences, set Grass Fading to "Far" to prevent grass from disappearing when you zoom out (if your PC can handle it).
- Use Quixel or Sketchfab plants for added realism.
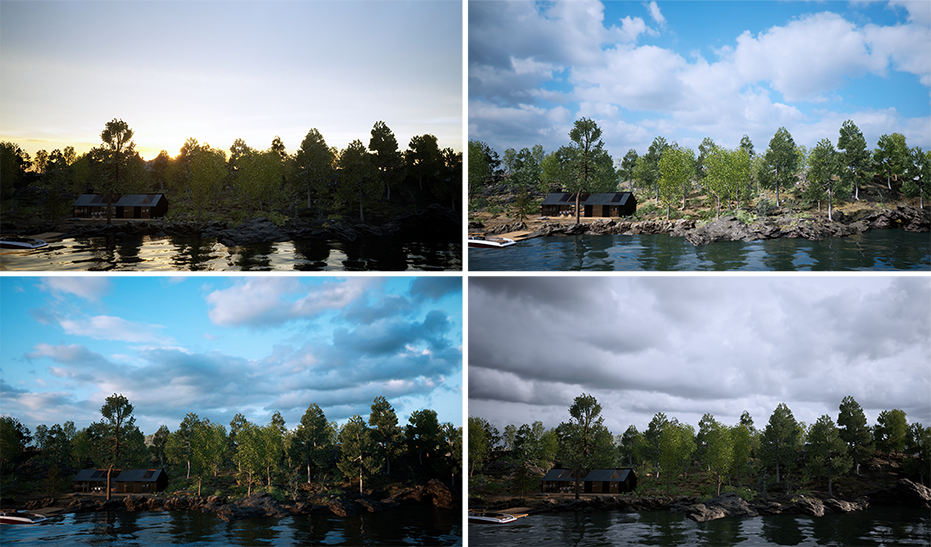
Step 4: Set the Mood with HDRI Skies and Lighting
Lighting can make or break a render. Instead of sticking to the default daylight, use HDRI skies and 3D sky domes for realistic results:
- Go to Sky → HDRI Skies.
- Choose a cloudy, evening, or dramatic sky that fits your design.
- Adjust sun rotation, intensity, and shadows to make the light feel natural.
Bonus: Rotate the sun to highlight building features during golden hour (clients love this).
Step 5: Add People, Furniture, and Details
Context sells your design. After adding plants and lighting, bring your scene to life with:
- Furniture (living rooms, outdoor sets) from the Twinmotion library
- Moving people, vehicles, and animated elements
- Curtains, props, and details to make spaces feel real
Pro Tip: Group these elements into containers (Scene Graph) so you can toggle them on/off to keep your PC running smoothly while editing.
Step 6: Fix Reflections (A Common Beginner Mistake)
Default glass reflections in Twinmotion often look flat. To improve them:
- Search for "Reflection Probe" in Twinmotion.
- Place the probe inside your space and scale it to cover the reflective areas (windows, mirrors).
- Adjust the glass opacity and roughness for a polished, realistic finish.
Step 7: Camera Setup for Professional Shots
Good renders need good composition.
- Go to the Media tab → Image and create a shot.
- Set your Field of View to around 50–60mm (similar to a prime lens).
- Adjust exposure manually (turn auto off) — keep it slightly underexposed for post-processing.
- Reduce vignetting and tweak depth of field if needed.
When ready, export in 4K (or 8K if your PC can handle it) for crisp results.
Step 8: Export Your Render (Images, Videos, or VR)
- Go to Export → Image or Video.
- Choose 4K (or 8K) for professional output.
- For VR, export a 360° panorama so clients can virtually walk through the design.
Explore your high-tech niches, affordably first with our short masterclasses and then commit fully to learning a skill confidently. Check out our past learner portfolios who successfully finished their upskilling journey with us.
Top Beginner Mistakes to Avoid
(from experienced Twinmotion users Mooch and David Thomas)
- Using only default materials – Always upgrade to Megascans for realism.
- Leaving grass flat – Use Vegetation Paint and mixed grass types.
- Overloading your PC – Use groups to toggle heavy elements on/off.
- Skipping reflection probes – Fix glass for more realistic visuals.
- Ignoring imperfections – Subtle scratches, dirt, or weathering make materials look natural.
- Forgetting context – Use Sketchfab models or urban massing to give your design a realistic backdrop.
Why Twinmotion Is Perfect for Students and Small Firms
- Free licence for students and educators.
- Beginner-friendly interface (learn in days, not weeks).
- Fast renders (minutes, not hours).
- Integrates with Revit, ArchiCAD, Rhino, and SketchUp seamlessly.
- Ideal for portfolios and client presentations without outsourcing.
Whether you’re building your first architecture portfolio or trying to speed up client presentations, Twinmotion offers professional results without the technical barriers of traditional rendering software. By using Megascans materials, HDRI skies, reflection probes, and vegetation tools, you can turn your BIM model into a stunning, interactive visualisation in just a few hours — no coding, no stress. Learn how to render like a pro in our BIM Course for Architects and take your projects to the next level.
Before you invest your time, energy, and money, invest in clarity. Our 1-Day BIM Masterclass gives you direct access to practising experts from top firms like AECOM, DAR, JACOB and industry leaders.
Ask your questions, understand what BIM truly means for your career, and make informed decisions.
If you're ready to level up, our Professional BIM Certification Programs for Architects and Engineers are designed to get you industry-ready, with job support built in.
FAQs About Learning Twinmotion
1. Is Twinmotion really free?
Yes, students and educators can get a free perpetual version. Rhino 5–7 users also get a free licence via Epic Games.
2. How long does it take to learn?
Most beginners can create professional renders in under a week with practice.
3. Can it handle big BIM models?
Yes, but simplify your model (reduce heavy geometry) for best results.
4. Does Twinmotion work with Revit and ArchiCAD?
Yes by Directly Linking, your models sync in real time. Revit has evolved smart features, to collaborate easily with Twinmotion.
5. Can I use it for VR presentations?
Absolutely — Twinmotion can export VR-ready panoramas and immersive experiences.




.png)