

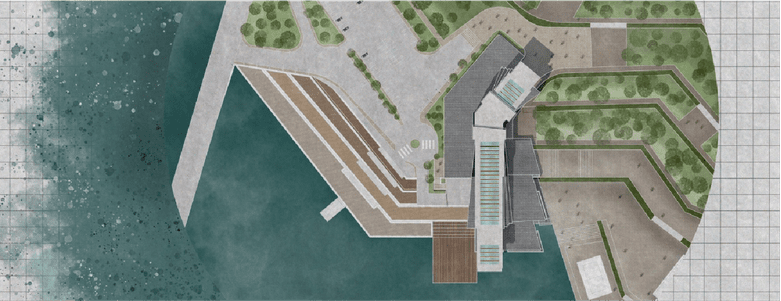
For many architecture and design students, the words visualisation and rendering often spark a mix of excitement and dread. While the potential for creating stunning, realistic imagery is alluring, the steep learning curves of software like Photoshop, Illustrator, SketchUp, Lumion, V-Ray, or Enscape can feel overwhelming. This fear often leads to procrastination, frustration, or even avoidance of essential tools that are now industry standards.
But what if we could transform that fear into curiosity — and eventually into love?
This article explores how to shift our mindset towards learning rendering and visualisation, turning a daunting process into an empowering one.
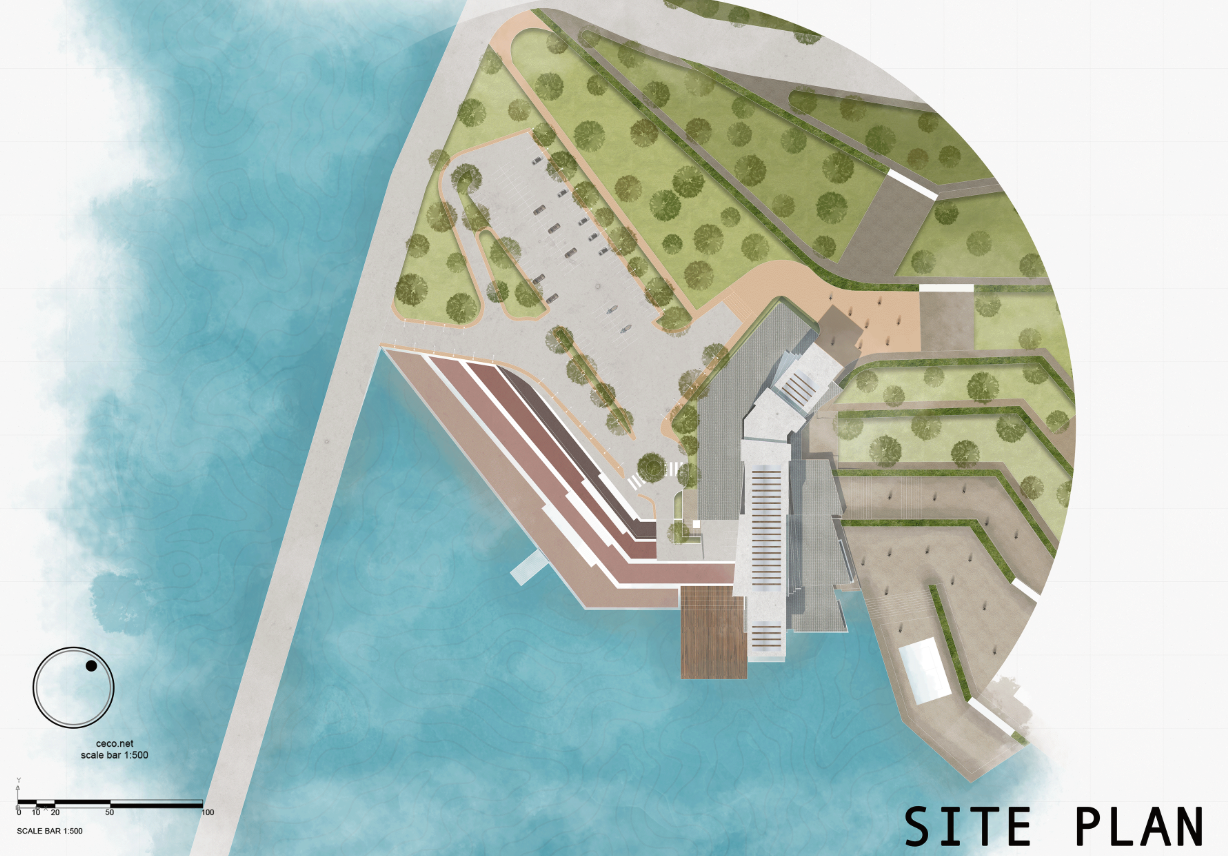
Why the Fear Around Learning Visualisation Tools
- Software Overload: With so many programmes available (Photoshop, Illustrator, Lumion, Rhino, Blender), students feel unsure where to start.
- High Expectations: Clients, professors, and peers expect hyper-realistic visuals, creating pressure from the outset.
- Trial and Error Frustration: Beginners face crashes, messy outputs, or endless YouTube tutorials that don’t quite match their goals.
Fear thrives in environments where expectations outweigh clarity.
Shifting from Fear to Love
Learning to render is less about talent and more about mindset. Here are strategies that can reshape the journey:
1. Start Small, Scale Up
Don’t aim for cinematic visuals in your first attempt. Begin with basic render settings or simple diagrams. Celebrate progress instead of perfection.
2. Embrace Play, Not Perfection
Rendering is a creative process. Treat each session as an experiment, not an exam. Test light, material, and atmosphere combinations freely.
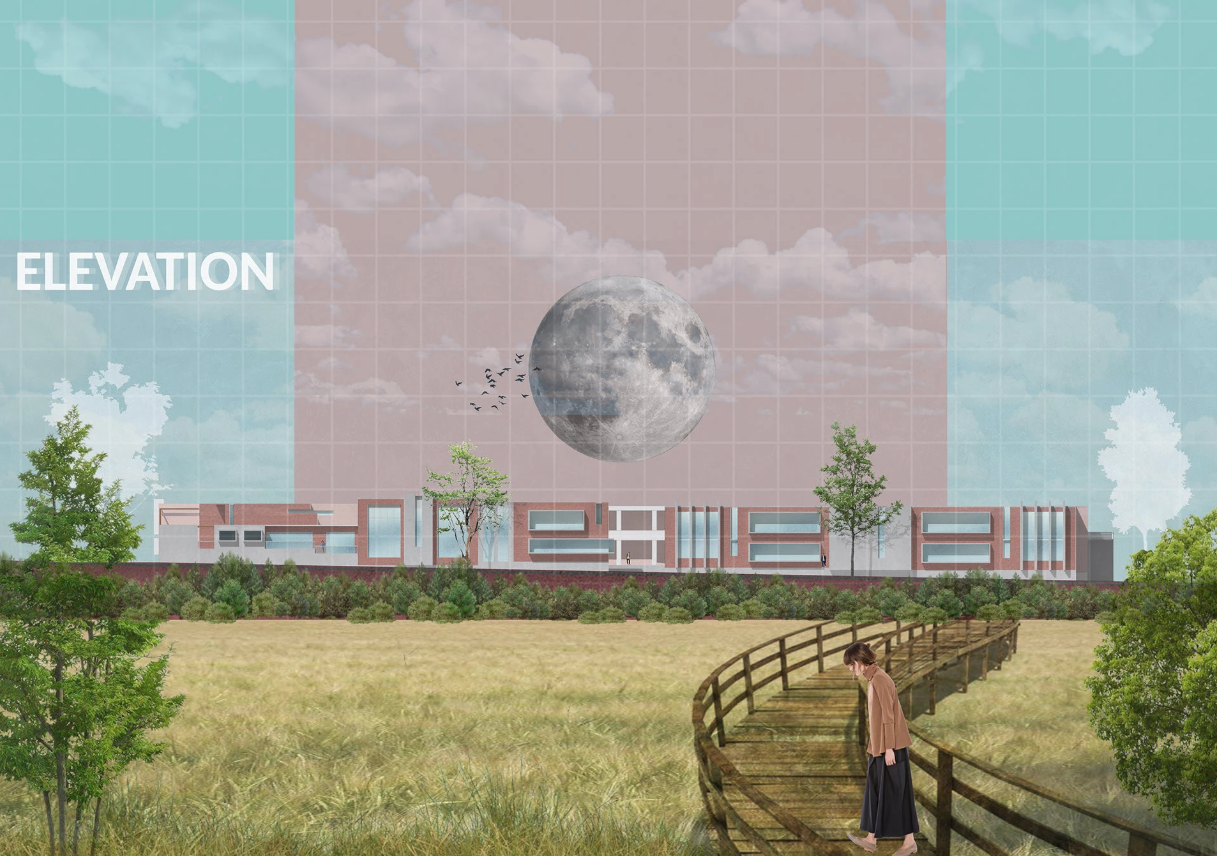
3. Break Down Software into Skills
Think of each programme not as a monster but as a toolkit.
Photoshop = textures,
Illustrator = diagrams,
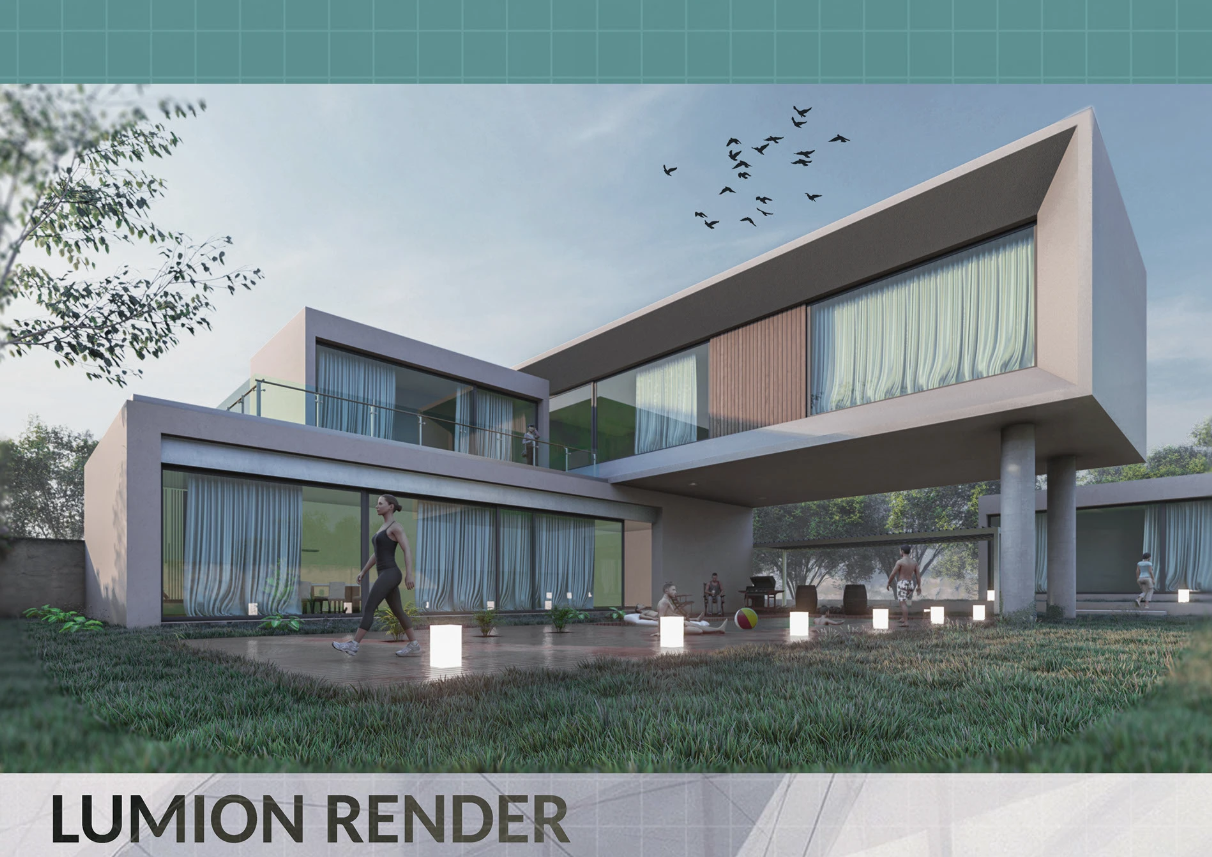
Lumion = quick renders,
V-Ray = realism.
Each tool has a role, and learning them one step at a time makes the journey manageable.
4. Community Learning
Joining peer study groups, online forums, or workshops reduces isolation. Often, sharing mistakes and solutions accelerates confidence.
5. Reframe Rendering as Storytelling
Visualisation isn’t just about realism — it’s about communicating a concept. When you shift focus from “perfect photorealism” to “clear storytelling,” fear fades and creativity blossoms.
Learn with Empathy
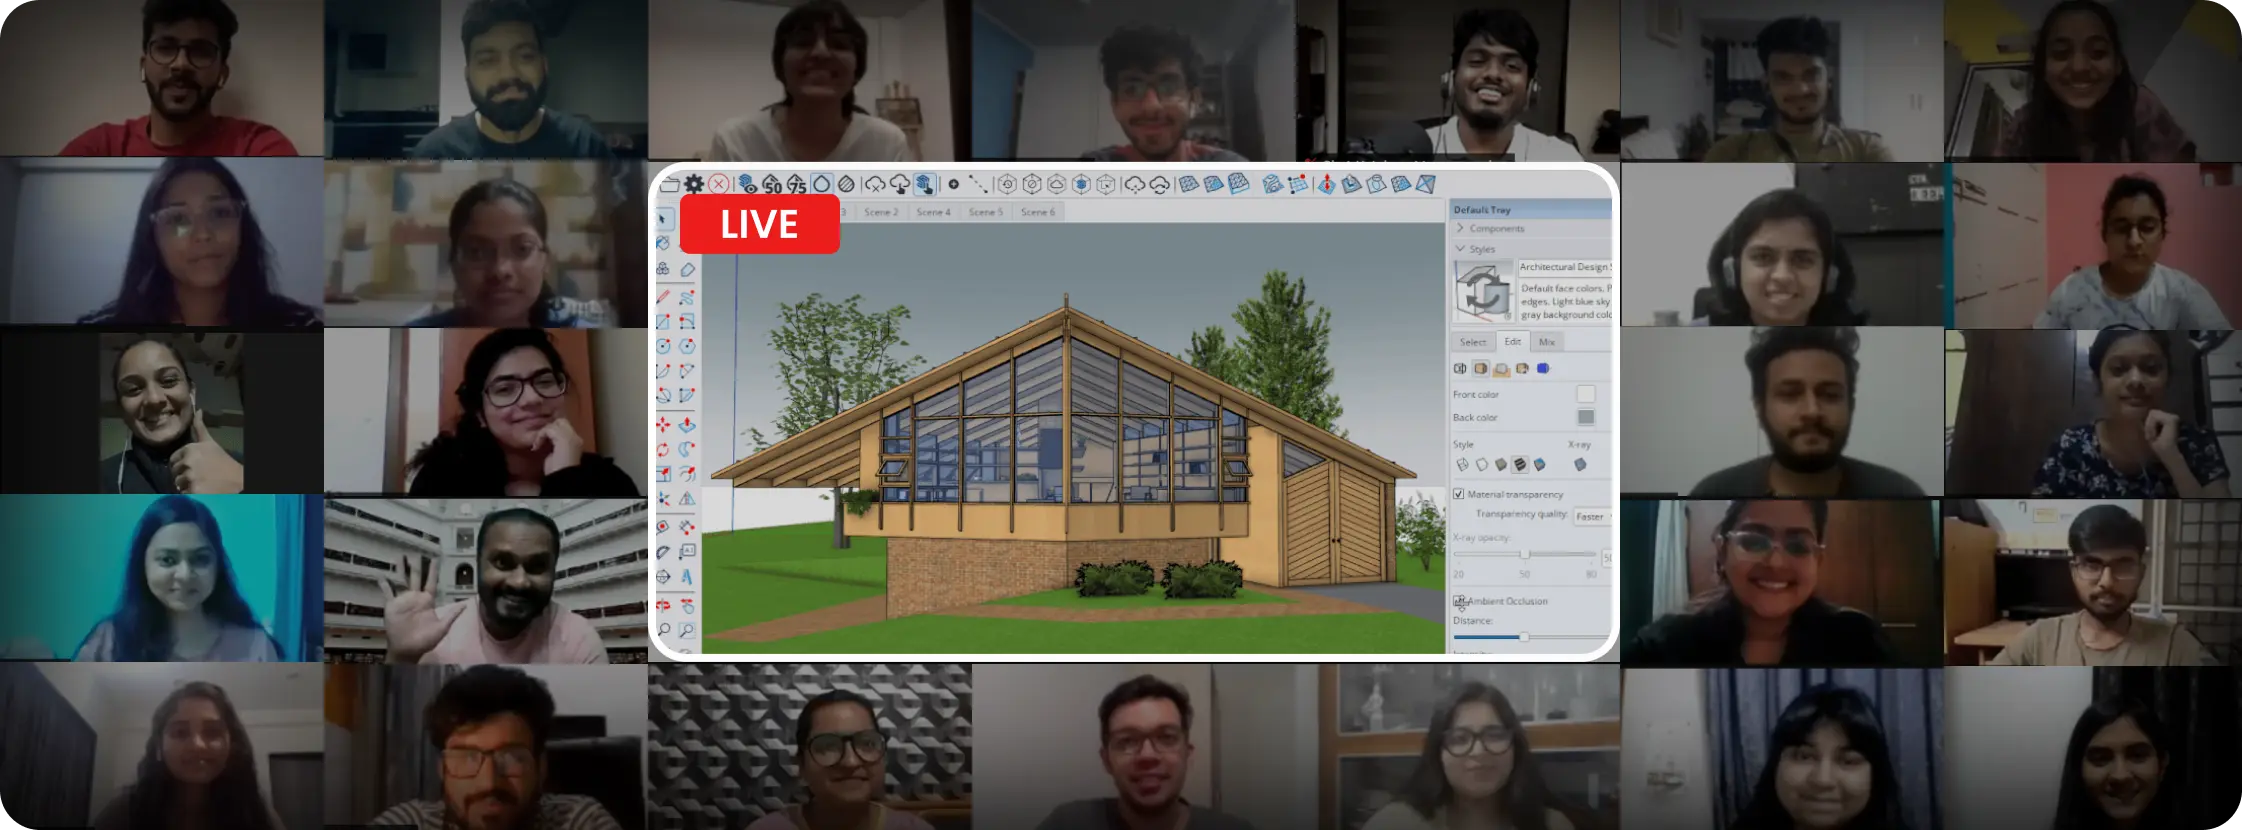
In Kaarwan's Visualisation and Rendering Course, we recognise that many learners begin with hesitation. That’s why our methodology is built around three principles:
- Demystify Software: We break down Photoshop, Illustrator, Lumion, and V-Ray into simple modules with clear objectives.
- Encourage Experimentation: Mistakes are not setbacks but stepping stones. Assignments are structured to encourage creativity, not rigid correctness.
- Build Confidence Gradually: By progressing from quick renders to advanced workflows, learners grow comfortable step by step.
This empathetic approach transforms the rendering journey into one that is inspiring rather than intimidating.

Common Mindset Shifts Students Experience
- From “I can’t learn this software” → to “I can learn one feature at a time.”
- From “I must create perfect renders” → to “I am telling my design story visually.”
- From “Software is too technical” → to “These are creative tools I can master.”
Practical Tips for Students Starting Rendering
- Pick one tool (e.g., Photoshop for post-processing) and practise consistently for 2–3 weeks before adding another.
- Use templates and presets to save time and focus on design instead of starting from scratch.
- Keep a visual journal of progress — screenshots of your first vs. latest render can boost confidence.
- Seek feedback early rather than polishing in isolation.
Final Thoughts: Learning with Love
Moving from fear to love in rendering is not about eliminating difficulty; it’s about transforming how we perceive the challenge. When we stop seeing software as a barrier and instead embrace it as a creative partner, the process becomes rewarding, enjoyable, and deeply empowering.
A visualisation and rendering course built on empathy, structure, and storytelling ensures that every student not only learns the tools but also develops a positive relationship with the process itself.
FAQs
Q1: Which software should I learn first for rendering?
Start with Photoshop for post-processing and Lumion for quick renders. They are intuitive and provide immediate results. (Many students purchase the SketchUp + Lumion Course along with the Visualisation and Rendering Course, to perfect the complex modelling part and execute it as a render thereafter.)
Q2: Do I need advanced rendering software for student presentations?
Not necessarily. Even basic Photoshop edits and Lumion renders can create professional-looking results.
Q3: How long does it take to get comfortable with rendering tools?
With consistent practice, 4–6 weeks is enough to gain confidence in one software.
Q4: Is rendering more about skill or creativity?
Both. Technical skill ensures quality, but creativity drives unique storytelling.
Q5: Can I learn rendering without a high-end computer?
Yes. Many programmes like Lumion (basic mode) or cloud rendering platforms make it accessible without heavy hardware.




.png)