

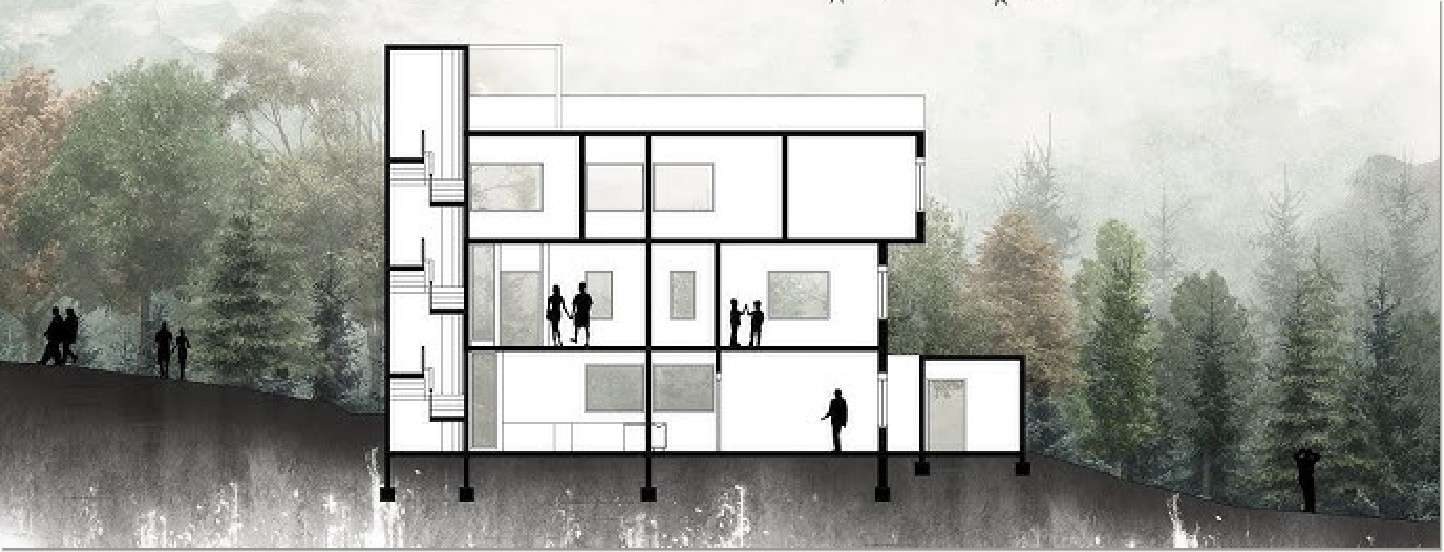
Night renders don’t just showcase a building—they tell a story. If you’re an architecture student or designer struggling to make your designs look alive after dark, Photoshop is your best friend. With a few simple tricks, you can turn a plain daytime render into a dreamy, cinematic night scene that captures attention.
This guide will walk you through the step-by-step process of creating night-time renders using Photoshop, along with pro tips, common mistakes to avoid, and examples of effects you can easily recreate—even without advanced rendering software.
Why Use Photoshop for Night Renders?
While tools like Lumion and Twinmotion do offer night settings, Photoshop gives you more artistic freedom, faster edits, and a lighter workflow (perfect for student deadlines or last-minute juries). It’s also great for improving a SketchUp or Revit export that lacks mood or detail.
What You’ll Need Before Starting
- A base render (ideally exported from SketchUp, Revit, or Lumion)
- Photoshop (any recent version)
- Reference images (Pinterest or Behance are great sources)
- A few light overlays or textures (you can download free ones from texture websites)
Step-by-Step: Convert a Day Render into Night Using Photoshop
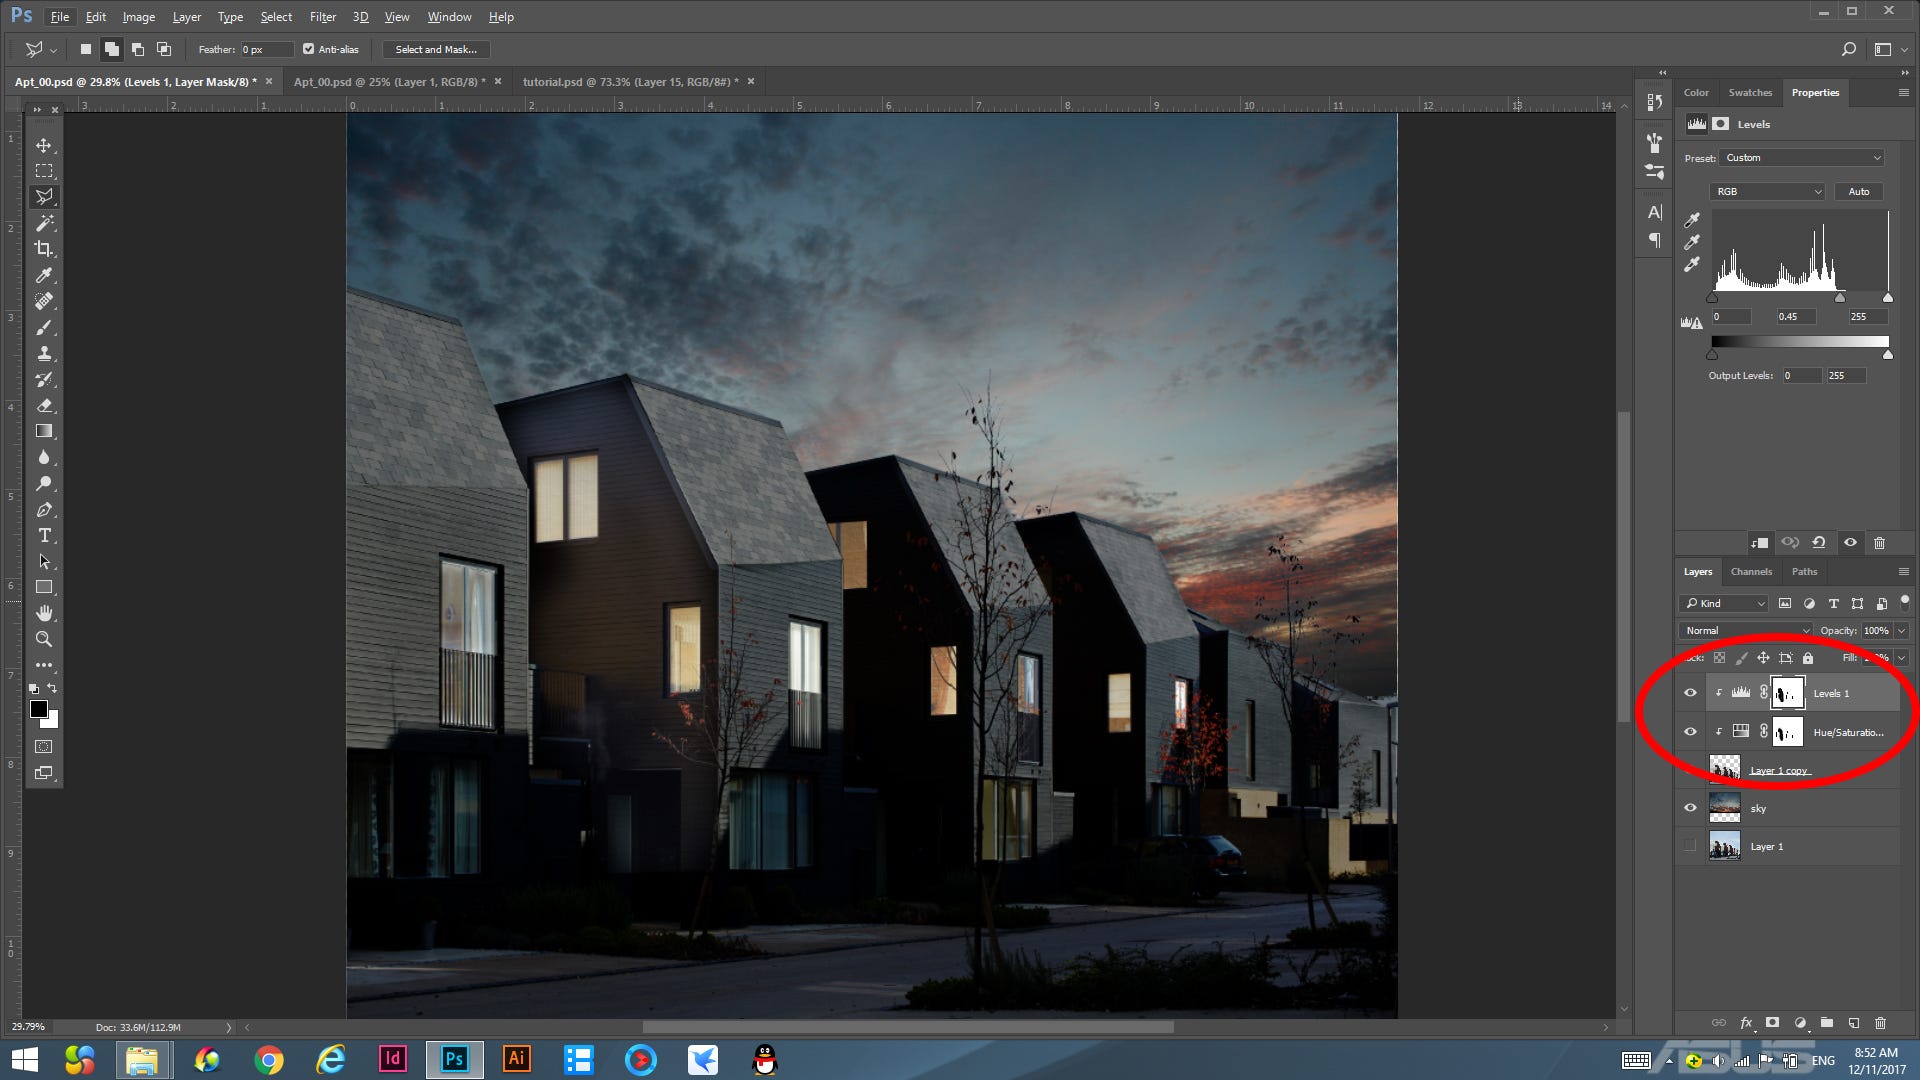
1. Desaturate and Darken the Scene
- Duplicate your base layer.
- Go to Image > Adjustments > Hue/Saturation and lower the saturation.
- Use Brightness/Contrast or Curves to reduce the overall exposure.
- Add a bluish tint using Color Balance (Midtones and Shadows: boost blue/cyan).
2. Add Artificial Lighting
- Create a new layer and set it to Screen mode.
- Use a soft round brush (with low opacity) to gently paint yellow or warm white light over windows, lamp posts, signage, or pathways.
- For glowing windows, use Gaussian Blur to soften the edges.
3. Use Overlays for Glow and Fog
- Import glow overlays or subtle fog images.
- Set their blending mode to Screen or Lighten and adjust opacity.
- You can use this for distant city lights, moonlight haze, or ambient glow.
4. Adjust Sky and Background
- Replace your sky with a night-time one (stars, moon, or just moody clouds).
- Mask it carefully so the edges blend with your architecture.
- Add a soft gradient if you want a glow behind your building for drama.
5. Highlight Trees and Surroundings
- Darken foliage to create a silhouette effect.
- Light up specific areas using the brush and dodge tool (e.g., uplighting on a tree trunk).
- Add subtle shadows beneath trees or balconies for realism.
6. Refine with Dodge and Burn
- Use the Dodge tool (set to Midtones) to highlight selected edges.
- Use the Burn tool to deepen shadows and increase depth.
- This step creates a more 3D effect and brings realism.
Before & After – What to Expect
| Feature | Day Render | Night-Time Render (After Editing) |
|---|---|---|
| Sky | Plain or white | Deep blue, cloudy, or starlit |
| Windows | Neutral | Glowing with warm light |
| Shadows | Sharp or flat | Soft, diffused, deeper contrast |
| Trees/Foliage | Bright green | Desaturated or backlit silhouettes |
| Mood | Neutral or bland | Dreamy, romantic, cinematic |
Common Mistakes to Avoid
- ❌ Overusing filters or glow—can make the image cartoonish
- ❌ Using pure black for shadows—use dark blue or dark grey instead
- ❌ Ignoring reflections—make sure water/glass elements reflect light correctly
- ❌ Forgetting consistency—light direction must match your highlights and shadows
Quick Tips for Better Results
- Use reference photos of real buildings at night to understand light behaviour.
- Keep layers named and organised.
- Use adjustment layers instead of editing directly on your base.
- Less is more—subtle edits often look more professional.
Bonus: What You Can Add for a Realistic Night Scene
- 🌕 Moonlight and shadows
- 🚶♂️ People silhouettes with light reflections
- ✨ Glow particles or lens flare
- 🕯️ Warm light from fireplaces, streetlamps, or candles
- 🌧️ Wet ground reflections (duplicate layer, flip vertically, and blur!)
Final Thoughts
Creating night-time renders in Photoshop is less about technical skill and more about observation and storytelling. With the right mood board, a steady brush, and control over lighting, your visuals can stand out—even if they started as a plain SketchUp export.
Want to master architectural rendering techniques like these—without needing heavy software? Join our Photoshop for Architects workshop and start transforming your renders with confidence.




.png)