Figma has become an indispensable tool for UI/UX designers. Its cloud-based platform allows seamless collaboration and efficient workflow management. As design teams increasingly work remotely, Figma's ability to facilitate real-time coordination makes it an essential tool in modern design practices. This article will help you learn about mastering Auto layouts and Constraints in Figma, two powerful features that significantly enhance the efficiency and consistency of your UI designs.
Getting Started with Figma
Setting Up Your Workspace
Before you can start creating, it's important to set up your Figma workspace. Begin by creating a new file and organizing your layers and assets. The left panel is your go-to for managing layers, while the right panel provides detailed options for each selected element. Spend some time familiarizing yourself with these panels; they will be instrumental in your design workflow.
Navigating the Figma Interface
The Figma interface is intuitive but packed with features. The main canvas area is where you'll spend most of your time designing, while the toolbar above provides quick access to essential tools. Explore the various menu options to understand the full range of features available, such as exporting assets, creating prototypes, and accessing plugins.
Understanding Auto layouts in Figma
What is Autolayout?
Autolayout in Figma is a key tool for creating responsive and dynamic designs. This feature allows elements within a frame to automatically adjust based on the content, ensuring that your design remains consistent and scalable. Whether you're designing buttons, lists, or complex components, Autolayout helps maintain uniformity across various screen sizes and content changes.
Benefits of Using Auto layouts
Why should you consider using Auto layouts in your designs? Here are a few reasons:
- Consistency: Auto layout ensures that your design elements remain consistent, no matter the screen size or content changes.
- Efficiency: By automating the alignment and spacing of elements, Auto layouts save time and reduce the need for manual adjustments.
- Scalability: Auto layouts make it easier to create designs that can scale across different devices and resolutions.
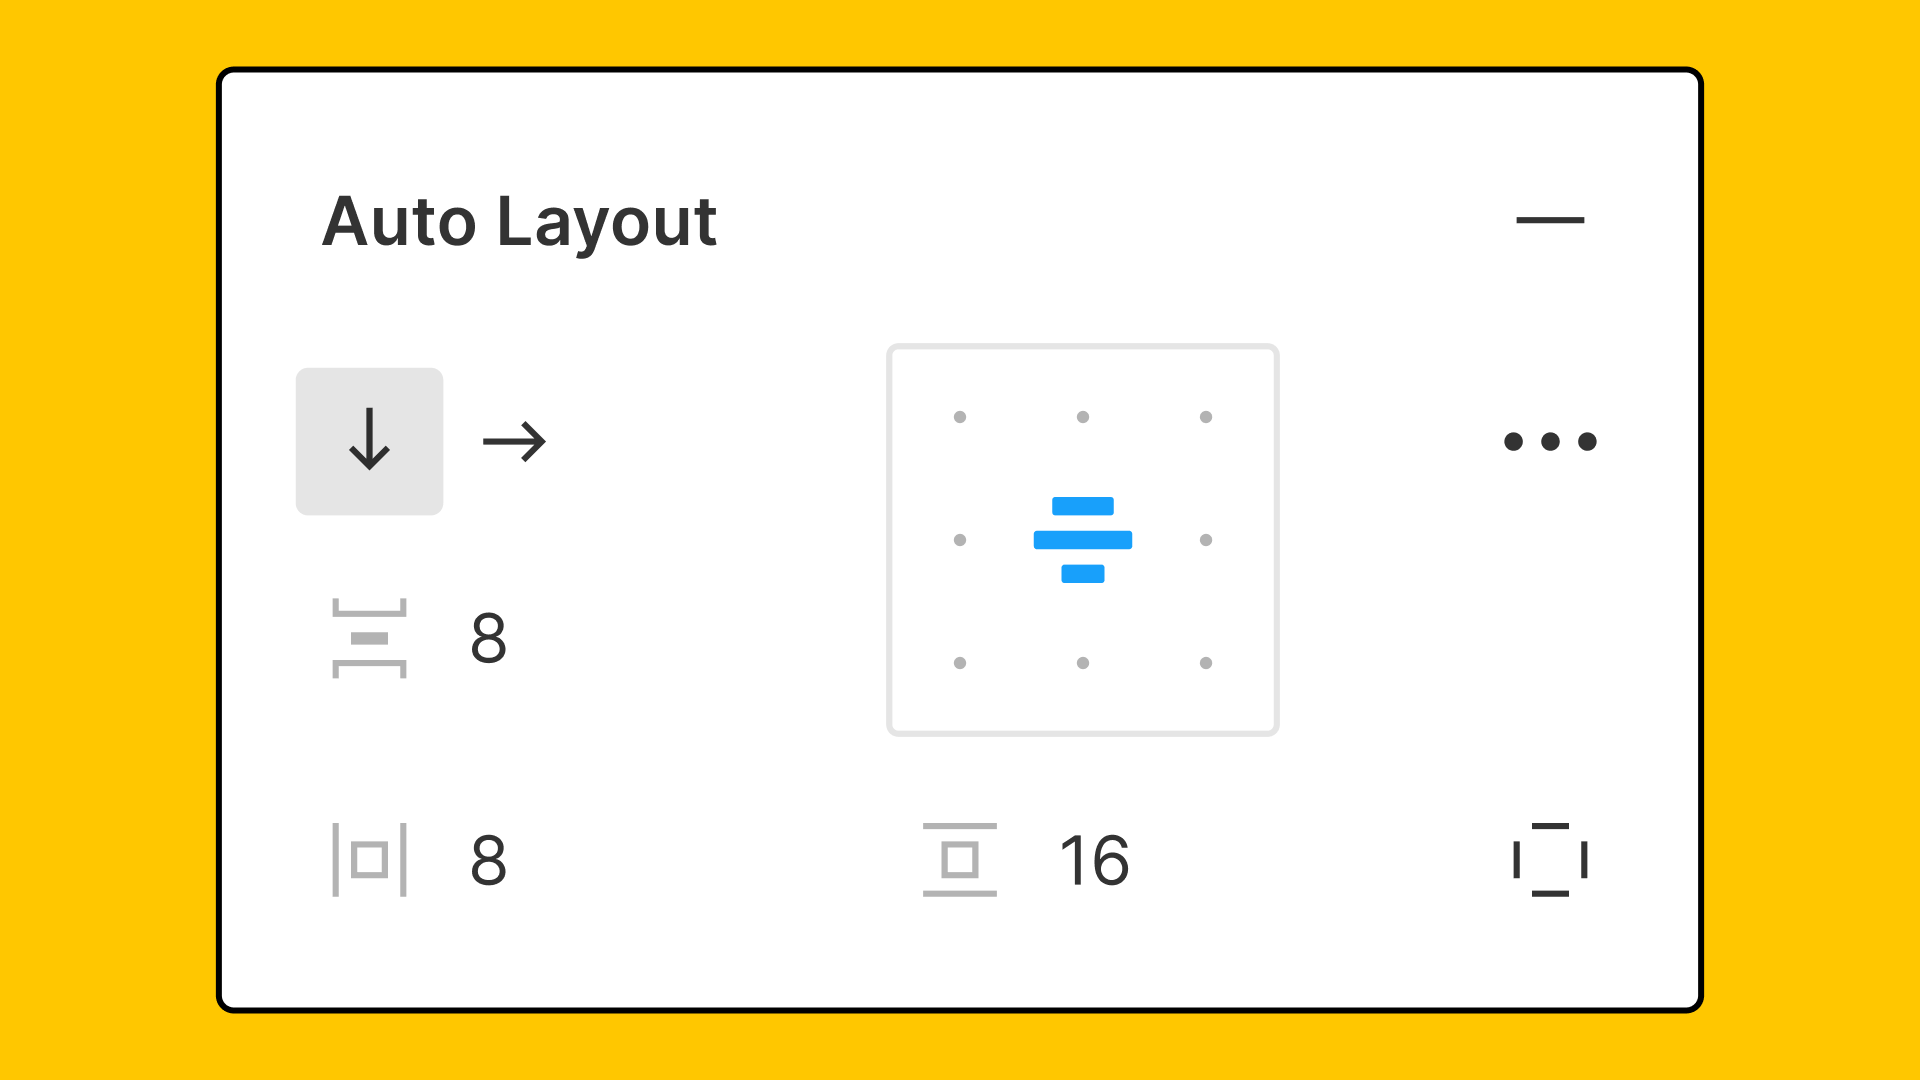
Auto Layout in Figma app_©forum.figma.com
Creating Responsive Designs with Auto layouts
Designing Flexible Layouts
Creating flexible layouts is essential for responsive design. With Autolayout, you can design elements that automatically adjust their size and position based on the screen size. This is particularly useful for mobile-first designs, where space is limited, and elements need to adapt fluidly. By setting padding, spacing, and alignment options, you can ensure that your designs look great on any device.
Adjusting Auto layouts for Different Screen Sizes
Different devices require different layouts, and Figma's Autolayout feature makes it easy to adapt your designs accordingly. You can set constraints and resizing options to make sure your design elements behave as expected on various screen sizes. This flexibility is crucial for creating designs that offer a consistent user experience across all devices.
Mastering Constraints in Figma
What Are Constraints?
Constraints in Figma allow you to control how elements behave when their parent frame is resized. By setting constraints, you ensure that your design elements maintain their relative position and size, even when the frame changes. This is essential for creating fluid, responsive designs that work across different screen sizes and orientations.
How Constraints Enhance UI Consistency
Constraints play a vital role in maintaining UI consistency. By locking elements to specific points within a frame, you ensure that they remain aligned and proportionate, no matter how the frame is resized. This is particularly useful for maintaining the visual integrity of your design when adapting it for different devices.
Applying Constraints to Elements
Fixed vs. Fluid Constraints
Understanding the difference between fixed and fluid constraints is key to effective design in Figma. Fixed constraints keep an element's position relative to its parent frame, making it ideal for static designs. Fluid constraints, on the other hand, allow elements to stretch or compress as the frame changes size, which is essential for creating responsive layouts.
Practical Examples of Constraints in Action
Let’s look at some practical examples to better understand how constraints work:
- Fixed Constraints: Useful for elements like logos or buttons that need to maintain a fixed position within the design.
- Fluid Constraints: Ideal for text boxes or images that need to resize dynamically with the frame.
By applying the right type of constraint, you can create designs that are both flexible and consistent, ensuring a seamless user experience across all devices.

Constraints in Figma app_©miro.medium.com
Combining Auto layouts and Constraints for Efficiency
Combining Auto layouts and Constraints can significantly boost your design efficiency. Auto layouts manage the alignment and spacing of elements, while constraints control their behavior during resizing. By using these features together, you can create designs that are both responsive and consistent, saving you time and effort in the design process.
Advanced Techniques with Auto layouts and Constraints
Nested Auto layouts
Nested Auto layouts are a more advanced technique that allows for even greater flexibility in your designs. By nesting one Autolayout frame within another, you can create complex, responsive layouts that adjust automatically based on the content and screen size. This technique is particularly useful for designing intricate interfaces that require multiple layers of responsiveness.
Creating Complex Layouts with Ease
With nested Auto layouts and well-applied constraints, creating complex layouts becomes a breeze. This advanced technique is especially useful for large-scale projects with multiple design elements that need to be responsive. By mastering these techniques, you can streamline your workflow and produce high-quality designs more efficiently.
Tips and Tricks for Mastering Auto layouts
Common Pitfalls and How to Avoid Them
While Auto layouts are powerful, they can also be tricky to master. One common mistake is overcomplicating layouts with too many nested frames, which can make your design difficult to manage. To avoid this, keep your layouts as simple as possible and use consistent spacing and padding throughout your design.
Best Practices for Optimal Results
To get the most out of Auto layouts, follow these best practices:
- Use Consistent Spacing: This ensures that your design elements are evenly distributed and aligned.
- Keep Layouts Simple: Avoid unnecessary nesting of frames to keep your design manageable.
- Test Across Devices: Regularly test your designs on different devices to ensure they are truly responsive.

Image source - help.figma.com
Streamlining Your Workflow with Figma
Integrating Figma with Other Tools
To maximize your productivity, integrate Figma with other tools in your design workflow. Figma offers a variety of plugins that can help you manage design tokens, create advanced animations, and export assets more efficiently. By incorporating these plugins, you can streamline your workflow and focus more on the creative aspects of your design.
Using Plugins to Enhance Productivity
Figma’s plugin ecosystem is vast and versatile. Whether you need tools for accessibility checks, color palette generation, or icon management, there’s likely a plugin that fits your needs. By utilizing these plugins, you can save time and effort, allowing you to produce high-quality designs more efficiently.
Conclusion
Mastering Figma's Auto layouts and Constraints is essential for creating responsive, consistent, and user-friendly designs. Regardless of whether you’re a beginner or an experienced designer, these features can significantly enhance your workflow and design outcomes.
By integrating these techniques into your practice, you can take your UI/UX designs to the next level, ensuring they are both functional and visually appealing. Start exploring these powerful features today and see how they can transform your design process.
Stay ahead of the curve with Figma's cutting-edge features. Learn to create responsive, user-friendly interfaces that stand out. Join our UI-UX Design Certification Course and achieve your design potential.
Visit the Kaarwan website for more insights!
FAQs
Q.1 What are the constraints in auto layout Figma?
Constraints in Figma define how elements behave when their parent frame is resized. They help maintain the position and size of elements relative to the frame’s edges, ensuring consistency in responsive designs.
Q.2 How to convert Figma design to auto layout?
To convert a design to Auto Layout in Figma, select the frame or group of elements, right-click, and choose "Add Auto Layout." This will automatically arrange the elements based on the padding, spacing, and alignment settings you configure.
Q.3 How do you practice auto layout in Figma?
To practice Auto Layout in Figma, start by creating simple components like buttons or cards, then gradually apply Auto Layout to more complex designs. Experiment with different padding, spacing, and alignment settings to understand how they affect the layout.
Q.4 What is the difference between constraints and auto layout?
Constraints control how elements within a frame respond to resizing, while Auto Layout dynamically arranges elements based on defined rules like spacing and alignment. Constraints focus on maintaining relationships, whereas Auto Layout manages layout structure.
Q.5 What is the purpose of auto layout in Figma?
Auto Layout is designed to create responsive and scalable UI designs. It automatically adjusts the arrangement of elements as the content or frame size changes, ensuring consistent and flexible layouts across different devices.
Q.6 How many types of constraints are available in Figma?
Figma offers four types of constraints: left, right, top, and bottom, along with combinations like center and scale. These constraints determine how elements resize or reposition within their parent frame.
Q.7 Should you always use auto layout in Figma?
Auto Layout is beneficial for creating responsive and flexible designs, but it’s not always necessary. Use it when you need to manage dynamic content or create layouts that adapt to different screen sizes.
Q.8 How to see constraints in Figma?
To view constraints in Figma, select an element within a frame and check the right-hand properties panel. The constraints settings will show the current configuration and allow you to adjust them.
Q.9 How do you stack in Figma auto layout?
Stacking in Auto Layout refers to the vertical or horizontal arrangement of elements. You can adjust stacking by selecting the Auto Layout frame and setting the direction, spacing, and alignment options in the right-hand panel.
Q.10 How do I improve my Figma design?
Improve your Figma design by using consistent spacing, practicing with Auto Layout and Constraints, integrating feedback from peers, and exploring Figma’s plugin ecosystem to enhance your workflow and creativity.